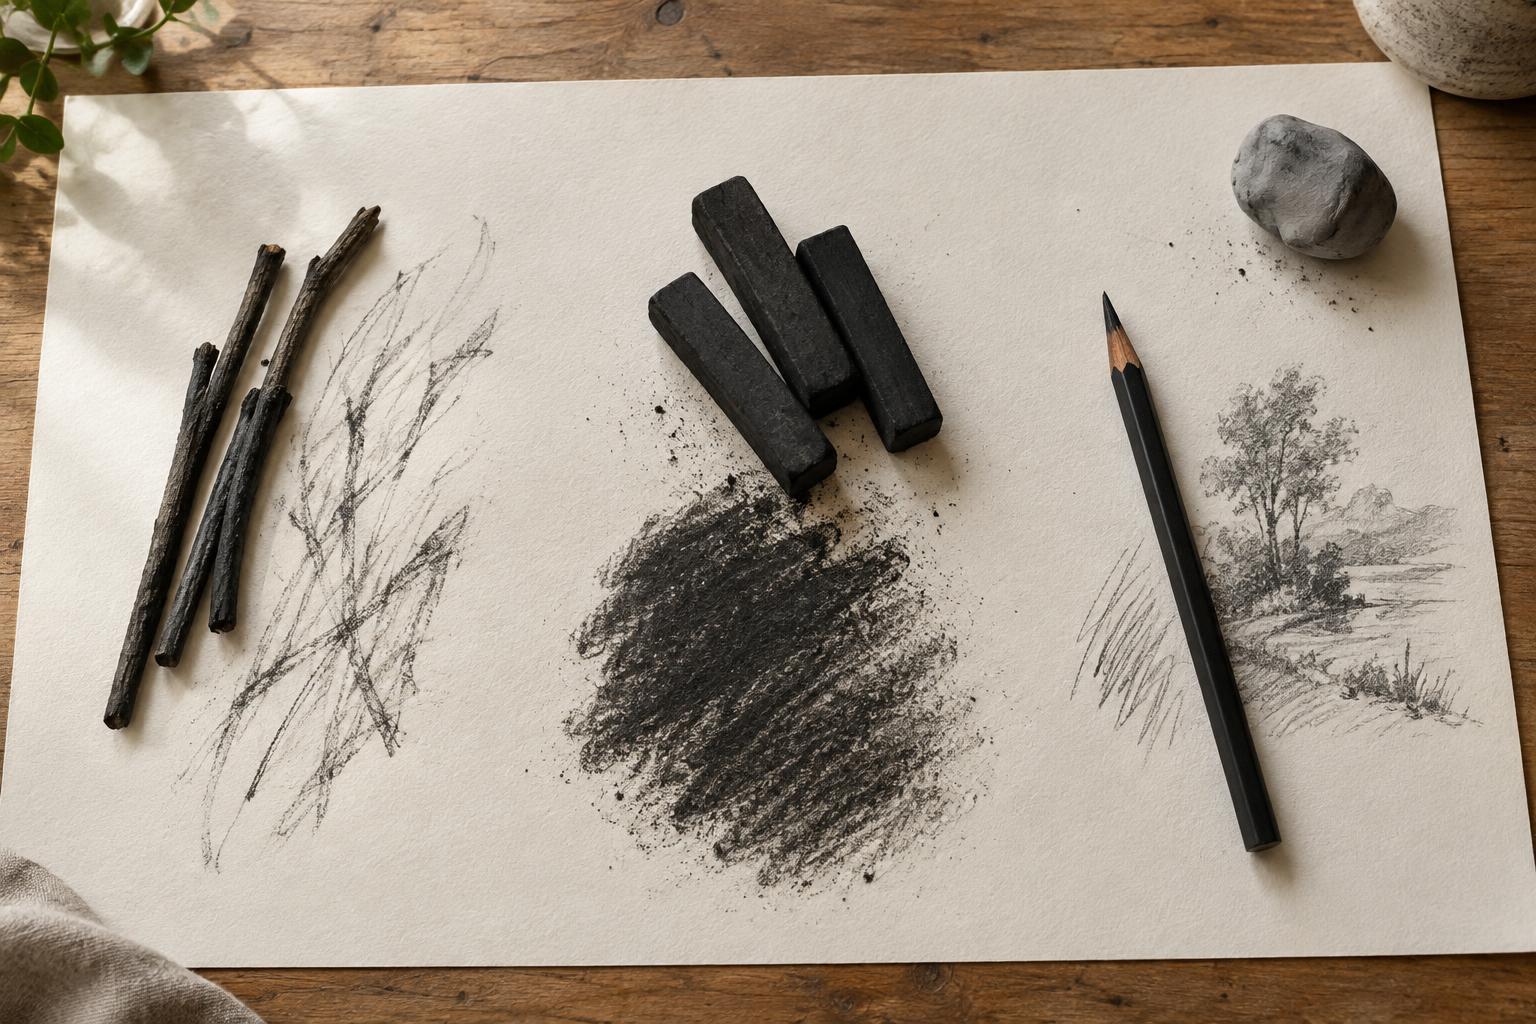
Three forms of charcoal, three ways of drawing
Charcoal is a flexible drawing material, but the word covers tools that behave quite differently. Vine charcoal comes as a light, unbound stick made from charred plant material. Compressed charcoal combines charcoal particles with a binder to form a firmer stick. A charcoal pencil holds a charcoal-based core inside a wooden casing, giving your fingers a familiar grip and keeping the point easier to control.
The differences matter most when you move between broad shapes and small details. Vine charcoal is often forgiving during an early sketch. Compressed charcoal can establish deep darks quickly. A pencil can reach into corners and make narrow lines. These are tendencies rather than strict rules: the pressure you use, the paper beneath the mark, and the particular product all affect the result.
Vine charcoal: light marks and easy changes
Vine charcoal is useful when you want to explore a composition without committing to every line. Its dry, relatively loose deposit can produce soft grays with light pressure, then darker marks with repeated strokes. You can lay the side of a stick against the paper to block in a large shape or use an edge for a loose contour. Because the sticks are delicate, they may snap or wear down quickly.
A kneaded eraser can usually lift vine charcoal readily, especially before you have pressed it into the paper. That makes it helpful for correcting proportions or drawing light back into a shaded area. It also means an uncovered drawing can smudge easily. If you want very dark accents, vine charcoal alone may take more layering than you expect, and its darks may look less solid than those made with a denser material.
Compressed charcoal: stronger darks and firmer marks
Compressed charcoal is typically denser than vine charcoal. Its binder helps the stick hold together and lets it leave a heavier deposit. It can create broad, emphatic strokes and dark areas that give a drawing a clear range from light to shadow. Try a light stroke first: a compressed stick may make a bolder mark than its size suggests.
The trade-off is that dense marks can be harder to remove cleanly. You may be able to lighten them with an eraser, but a faint trace can remain, particularly on textured paper or where you have pressed firmly. Some compressed charcoal is sold in different hardnesses; softer versions generally lay down material more readily, while harder ones can support a more restrained mark. Labels are not perfectly consistent across makers, so a small test patch is more useful than relying on the label alone.
A practical approach is to reserve compressed charcoal for shadows or final accents until you are satisfied with the larger arrangement of shapes. It can also serve as the main tool for a bold drawing, provided you leave some paper visible where you want your lightest values.
Charcoal pencils: control without giving up charcoal
A charcoal pencil is well suited to edges, small features, hatching, and places where a chunky stick feels awkward. Its casing limits how much of the core touches the page, making it easier to repeat a narrow stroke. Pencil cores vary in hardness and darkness, so one may feel powdery while another makes a firmer, more persistent line.
A pencil does not automatically make charcoal tidy or permanent. The exposed point can still smudge, and a heavily worked line may be difficult to erase. Sharpen gently because the core can break; if a standard sharpener catches it, a craft knife and sandpaper can offer more control when used carefully. Keep the point blunt for softer lines or refine it when you need precision. For broad, even shading, turn to the side of a stick rather than trying to fill a large area with tiny pencil strokes.
Choosing a combination and caring for the drawing
You do not need all three forms, but they work well together. On a sheet of paper with a little texture, begin with vine charcoal to place the subject and adjust its proportions. Add compressed charcoal where the darkest shapes will clarify the image. Finish with a charcoal pencil for selected edges or details. If you prefer a loose, atmospheric result, you might skip the pencil; if you enjoy precise line work, you might start with it instead.
Before a longer drawing, make a few test marks on the paper you plan to use. Compare a light line, a dark patch, a blended area, and a mark lifted with an eraser. The test will show you how much charcoal the surface accepts and which marks remain after correction. Blend with a suitable tool or a clean cloth rather than assuming every passage needs smoothing; visible strokes can give a drawing energy.
To reduce accidental smears while working, rest your hand on a clean spare sheet and avoid rubbing across finished areas. Store drawings with a protective sheet between them. Some artists use a fixative to reduce smudging, but it can change the appearance of a mark and does not make a drawing indestructible. If you choose to use one, follow its label and work in a well-ventilated space.