Start with the wall, not the artwork
Before arranging frames, look at the wall as part of the room. A gallery wall above a sofa has a different job from one along a hallway: the first may need to read as a single grouping from across the room, while the second can reward a closer look. Notice the furniture, doors, switches and other features around it. Take a photograph of the empty wall so you can see its overall shape without standing in front of it.
Measure the usable width and height, leaving space around furniture and architectural features. You do not need to fill every inch. A little empty wall gives the arrangement room to breathe and makes future additions possible. Consider daylight and lamps, too. Glare on glass can make a piece difficult to enjoy, while prolonged direct sun may affect some artwork and materials. If a spot gets strong sunlight, consider moving sensitive pieces elsewhere.
Choose a collection with a common thread
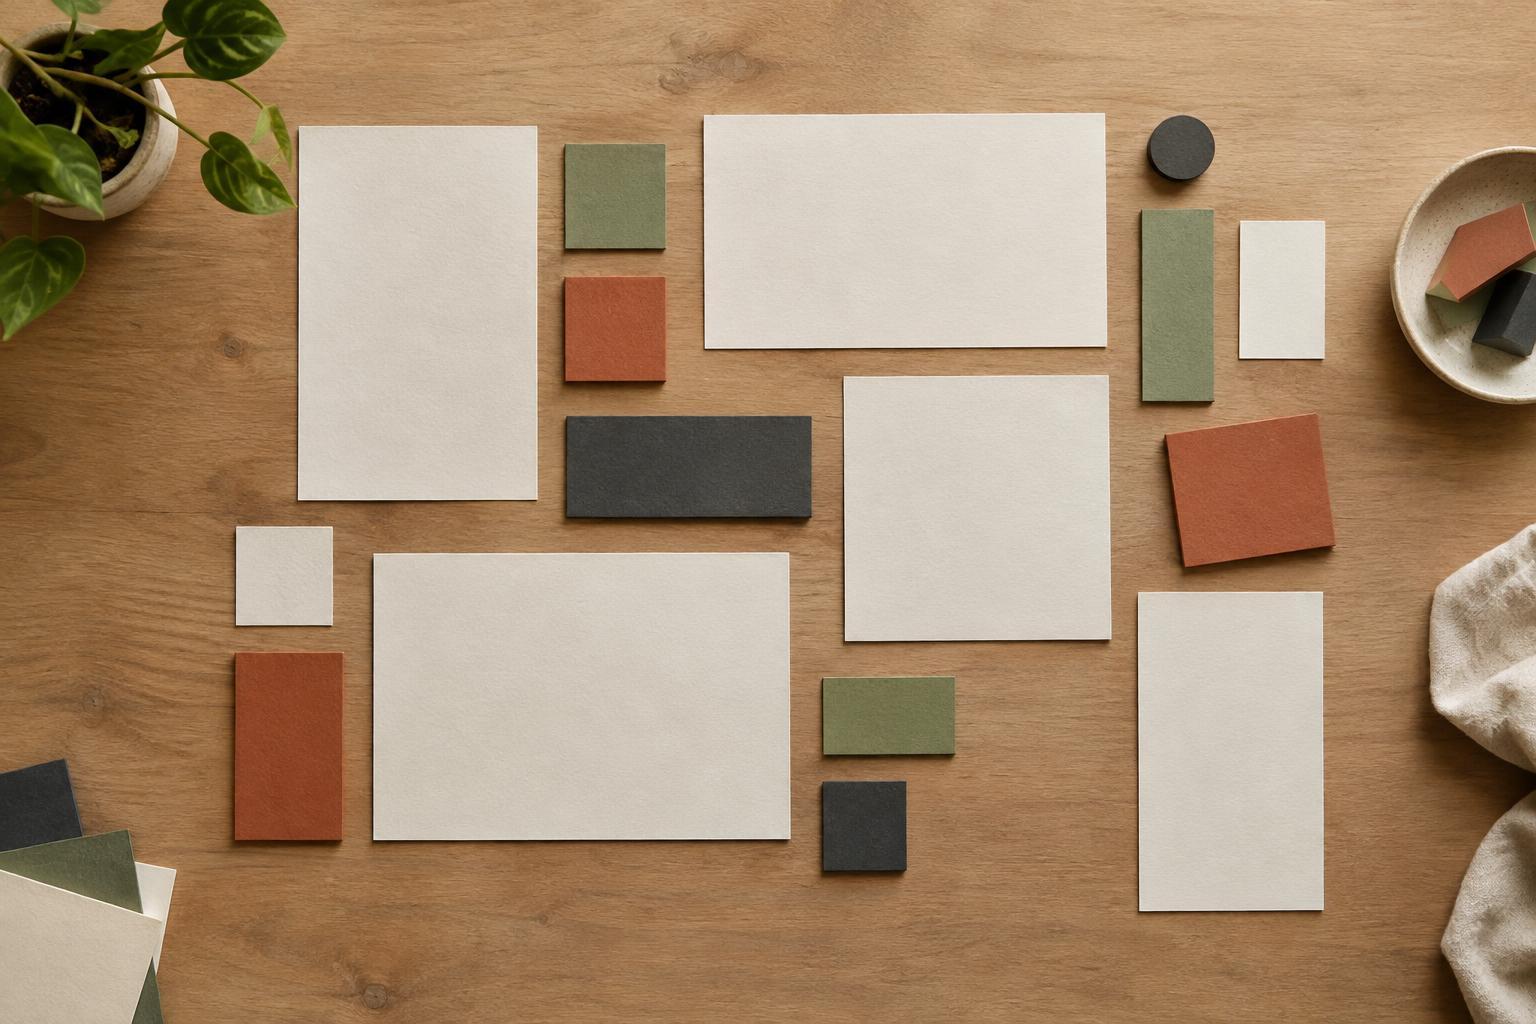
Gather everything you might include before deciding on a layout. Prints, photographs, drawings and small objects can sit together without matching, but a common thread helps the group feel intentional. That thread might be a limited palette, similar subject matter, repeated frame material or a balance of dark and light shapes. Set aside anything you are including only to fill a gap; an open space often looks better than a piece you do not enjoy.
Check the outer dimensions of each frame, rather than relying on the size of the image inside it. Also note its weight and how it hangs. A wire, a sawtooth hanger and two fixed rings place the wall attachment at different points behind the frame. Knowing this now will prevent a carefully planned arrangement from shifting when you begin to hang it. If a heavy or fragile piece needs specialized mounting, resolve that question before placing it in the plan.
Try layouts without touching the wall
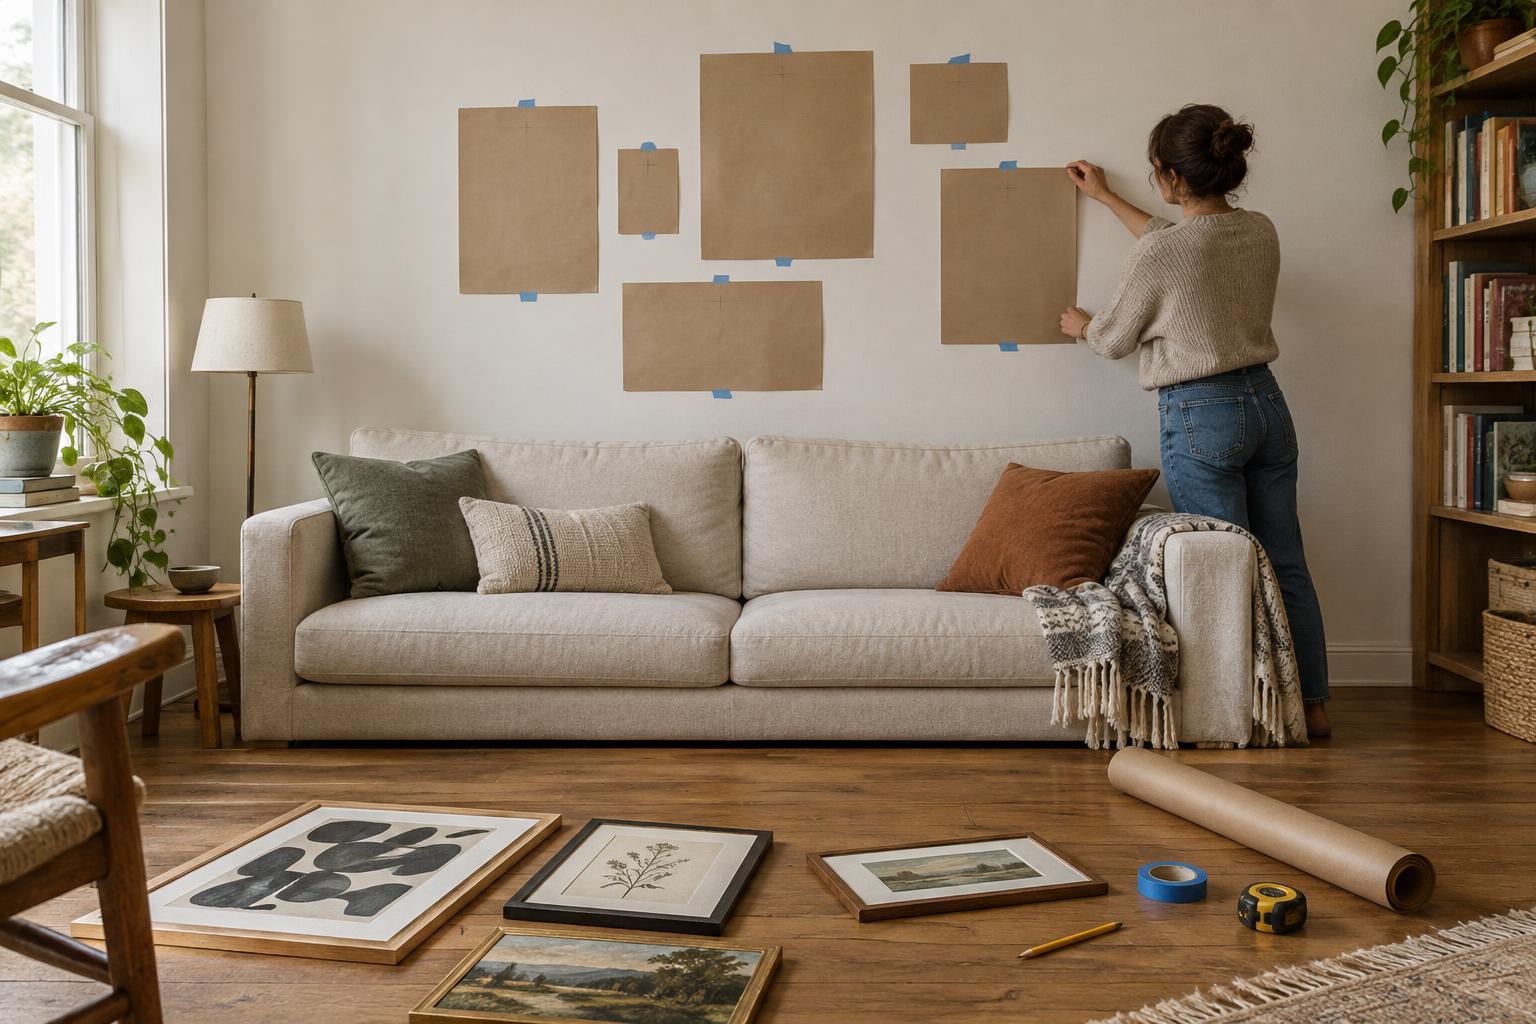
Lay the pieces on the floor in an area roughly the size of the wall space you measured. Begin with the largest piece or the one you want viewers to notice first. It can sit in the center, but it does not have to. Then place the others around it, checking the outer edges of the whole group as well as the spaces between individual frames. Step back, take a photo and try another version before settling on one.
For a tidy grid, align frame edges and keep the gaps consistent. This suits pieces of similar size, though the artwork inside them can vary. For a looser arrangement, you can still create order by aligning a few edges, repeating a gap or keeping the visual center of the group near the same point. Allow for the way frames feel as well as how they measure: a small, dark frame may draw as much attention as a larger, pale one.
Test the layout at viewing height. A floor arrangement can look compact when you stand over it yet feel too spread out on a wall. If the grouping will sit above furniture, check that it relates to the furniture rather than floating far above it. There is no universal height that works in every room; where people stand or sit, and what surrounds the wall, matter more than a fixed rule.
Make paper templates and mark hanging points
Once you like the layout, trace each frame onto scrap paper and cut out a template. Label it with the artwork’s name or a simple number, and mark which edge is the top. To locate its hanging point, measure from the top of the frame down to the place where its hook, ring or taut wire will meet the wall attachment. Transfer that point to the paper. For two attachment points, mark both and check that they are level with each other.
Tape the templates to the wall with a tape suitable for its finish, pressing lightly and testing in an inconspicuous spot if needed. Use your floor photo as a guide, then stand back to judge the arrangement in the room. View it from the doorway, the seating area and anywhere else you will regularly see it. Move the paper until the overall shape and spacing feel right. Only then mark the attachment points through the templates or measure their positions onto the wall.
Check the practical details before hanging
Take the templates down one at a time so you do not lose track of which mark belongs to which frame. Check each mark against the actual hanging hardware before making a hole. Choose fasteners appropriate to the wall material and the weight of the object; plasterboard, masonry and other surfaces may need different fixings. If you are unsure what is behind the wall, be cautious around electrical fittings and plumbing routes and seek appropriate help rather than drilling on a guess.
In a rental, check what changes are permitted. Removable hanging products may work for some lightweight frames on suitable surfaces, but follow their weight and surface guidance; they are not a substitute for secure mounting of heavy or valuable pieces. Once the art is up, use a level to straighten the frames and step back again. Small adjustments are normal. Planning does not remove every surprise, but it turns hanging day into a series of checks rather than a wall full of guesses.