Start with relationships, not exact lengths
Drawing from life means translating a three-dimensional subject onto a flat page. You do not need to know that a vase is a certain number of centimetres tall. You need to notice how its height compares with its width, how far its handle extends, and where its widest point falls. These relationships are its proportions.
Before drawing, choose a viewpoint you can keep comfortably. A small change in where you sit or stand can change how objects overlap and how wide their visible surfaces appear. Look at the whole subject and decide how much of the page it should occupy. Lightly mark its top, bottom, left and right limits. These marks create a simple boundary for the drawing and leave room to adjust it.
Use a pencil to compare height and width
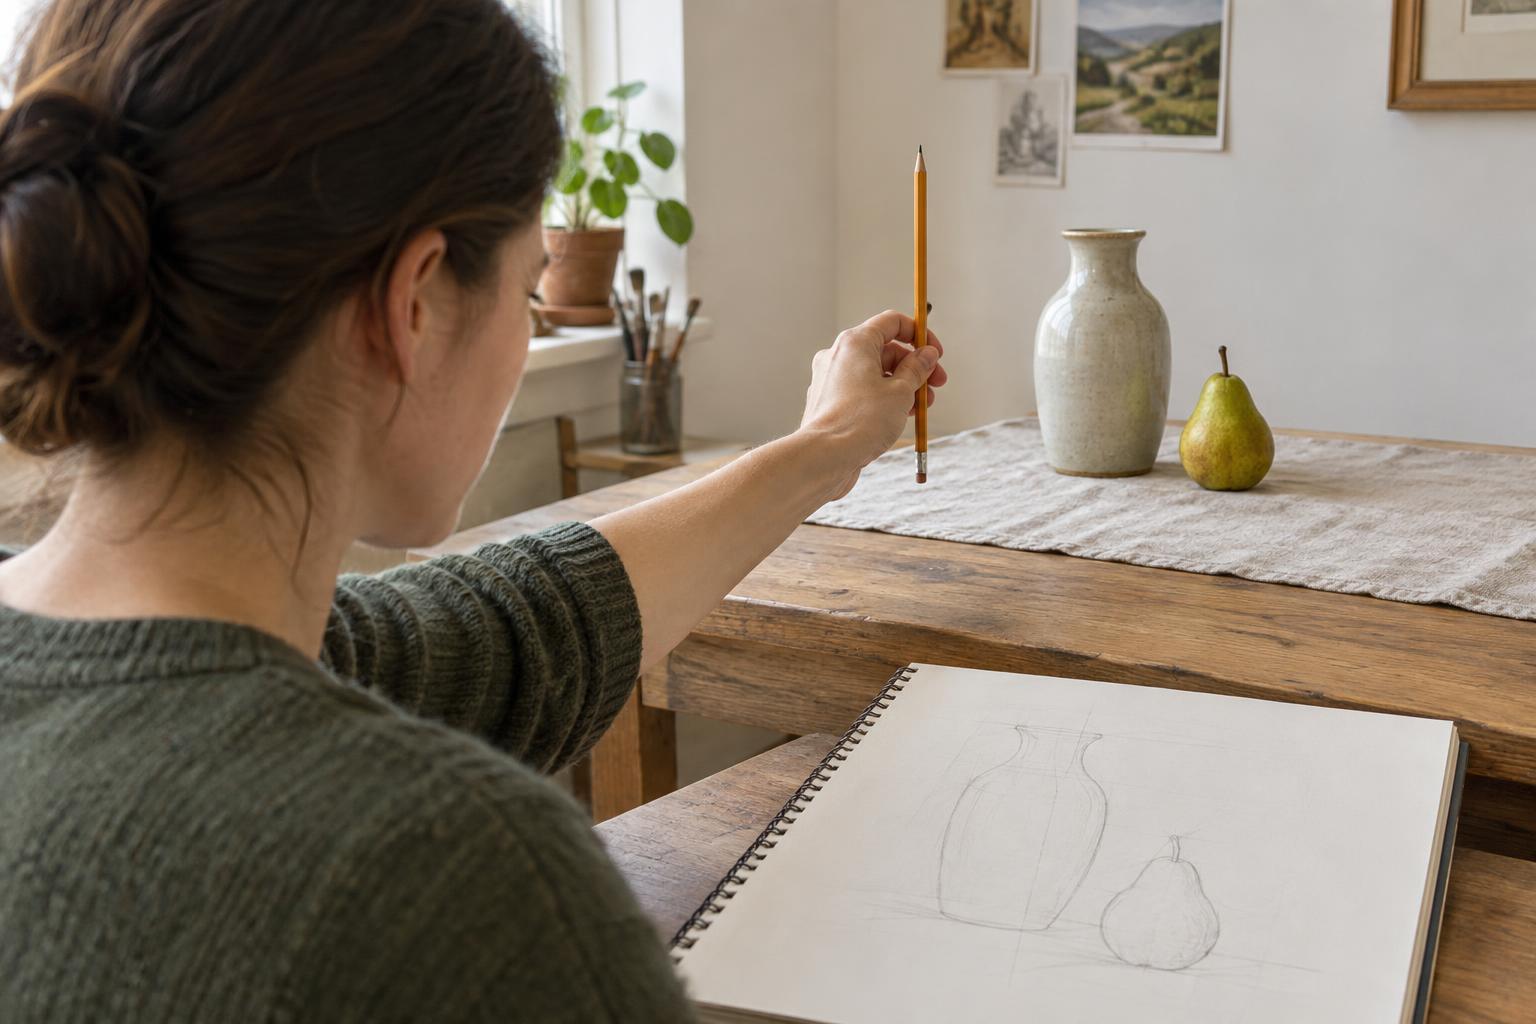
A pencil can help you make a relative measurement. Hold it upright at arm’s length, with your arm straight, and close one eye. Align the top of the pencil with the top of your subject, then slide your thumb down to mark its visible bottom. Keeping your arm in the same position, turn the pencil sideways and compare that measured height with the subject’s width. Is the subject about as wide as it is tall, or closer to half as wide?
The pencil is not giving you a size to copy directly onto the paper. It is helping you find a ratio. If a bottle appears roughly three times as tall as it is wide, you can draw it at any suitable size while preserving that relationship. Begin with an approximate comparison; refine it as you work.
Keep your elbow straight and measure from the same viewpoint each time. Bringing the pencil closer to your eye or leaning toward the subject changes the apparent measurement. If you move, pause and establish your viewpoint again rather than trying to reconcile two different views.
Build the drawing from a reference unit
Choose one visible part of the subject as a unit of comparison. When drawing a chair, for example, you might use the width of its seat. Ask how many seat widths fit into the chair’s overall height, or how the backrest’s height compares with the seat’s depth. For a still life, the height of one cup might help you place a nearby bowl. The unit does not have to be perfectly regular; it only needs to be easy to find again.
Sketch the large shape first using faint, simple lines. This loose outline, sometimes called an envelope, helps you establish the subject’s overall spread before you commit to curves and small edges. Add a few landmarks: the centre of a vase’s opening, the level of a table edge, or the point where one object passes in front of another. Compare each landmark with the whole shape rather than placing it in isolation.
Check angles and the spaces between things
Proportions involve more than height and width. To check an angle, hold your pencil along a visible sloping edge, such as a chair leg or the side of a roof, then look at the tilt without rotating your wrist as you bring your attention back to the page. Draw a light line at a similar angle. Compare it with the original before darkening it. A small error in a long diagonal can shift several other parts of the drawing.
The empty areas around and within a subject are useful measuring tools. Look at the shape between a person’s arm and torso, beneath a chair seat, or between two objects on a table. These are often called negative spaces. If the gap in your drawing is much narrower than the gap you see, one of its surrounding edges may need to move. Checking the spaces gives you another way to test proportions without concentrating on the object’s name or what you expect it to look like.
Recheck before adding detail
Step back from the page occasionally and ask a few specific questions. Is the subject’s overall height-to-width relationship still convincing? Are the widest and narrowest points at the right levels? Do major edges meet where they should? It is easier to move a faint construction line than to correct a carefully shaded detail, so save texture and strong outlines until the larger relationships work.
Sight measurement takes practice because your eye may favour familiar shapes over the particular view in front of you. A round plate seen at an angle, for instance, appears narrower from top to bottom than a circle drawn on the page. Treat your first marks as estimates, compare them with the subject, and revise them freely. The goal is not to measure every edge. It is to build a habit of looking carefully, testing relationships and letting observation guide the drawing.