What a palette knife does differently
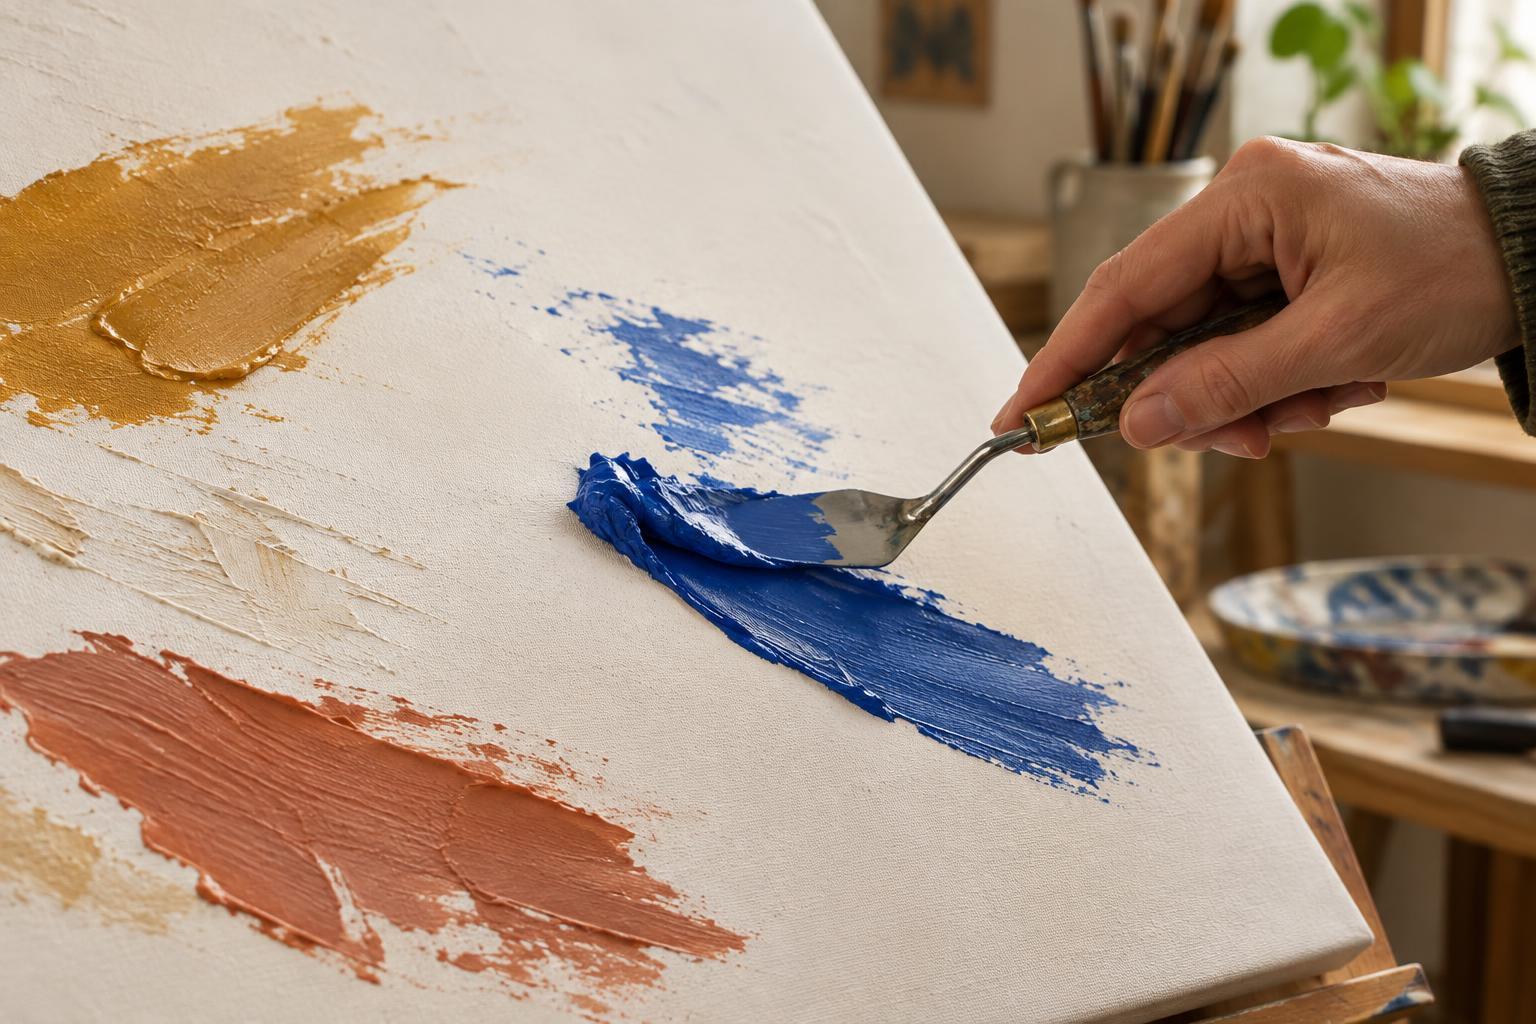
A brush carries paint through its bristles, leaving strokes that can be soft or finely controlled. A palette knife moves paint with a flat blade. Its edge can draw a narrow line, while its underside can spread a broad patch. Because the blade does not absorb paint, it is easy to deposit a generous layer and leave a raised edge. The result depends as much on how you lift the knife as on how you lay the paint down.
Art shops may distinguish between a straight palette knife, often used for mixing, and a painting knife with an angled handle that keeps your hand above the surface. Either can make marks. For a first experiment, choose a small, flexible blade with a rounded tip. It offers room to vary your angle without covering a large area at once. A rigid plastic knife can also work, although it may respond differently to pressure.
Set up for marks you can see
Start with a sturdy painting surface, such as a prepared panel or a stretched canvas that does not flex too much under the blade. Put out a few colors with enough space between them to keep accidental mixing under control. Acrylic paint is convenient for short experiments because it can be used without a separate solvent and cleaned from tools with water before it dries. Oil paint offers more time to move a mark, but requires care with cleanup and drying space.
Test the paint on a spare surface before starting the main piece. A thin load may slide across the surface like a smear; a larger load may stand up in ridges. If you want more pronounced texture, choose a paint or medium intended to hold its shape and follow its product directions. Adding a great deal of wet material at once can make a mark harder to control and may lengthen the time needed for it to dry.
Try four basic movements
For a broad sweep, pick up paint on the underside of the knife, set the blade down at a shallow angle and pull it across the surface with light, steady pressure. Lift it gradually to leave a tapered end. To make a ridge, place a small amount of paint on the surface, press the flat of the blade into it and draw the blade away. Paint gathers along the knife’s edge, creating a raised border. Change the blade angle to see how the height and width shift.
For a broken mark, use less paint and skim the blade over a dry, textured surface. The paint may catch on high spots and leave gaps that reveal the layer beneath. For a fine line, touch a paint-loaded edge to the surface and move it without flattening the blade. Wipe the knife between trials so you can tell which effects come from your movement rather than leftover color.
Build texture without losing the composition
Raised paint draws attention, so it helps to decide where the strongest texture belongs. Try placing it near the subject or area you want viewers to notice, then use thinner marks around it. You can also contrast a smooth background with a few decisive knife strokes. Leave some quiet space between thick passages; when every part of the image is equally busy, the individual marks can be harder to appreciate.
Work in layers when you want one color to remain distinct from another. Dragging a knife through wet paint can produce useful blends, but it can also muddy colors you meant to keep separate. Let a layer dry sufficiently before adding a clean color on top, or apply the new mark with a light touch and lift the blade promptly. Turn your surface occasionally as you work: a stroke that feels awkward in one direction may be easier from another side.
Practice, adjust and clean up
A small practice sheet is a useful place to repeat one movement while changing only one thing at a time: the amount of paint, the blade angle, the pressure or the speed. Look at the results from the side as well as from the front. Side light makes ridges and shallow scrapes easier to see. If a mark does not work, resist the urge to keep pressing it into shape; removing paint or waiting before trying again may give you more control.
Scrape excess paint from the knife before washing it, and clean the blade according to the paint maker’s directions. Check that no paint remains near the handle or along the edges. Store the knife dry so it is ready for the next session. With a few repeatable movements, the tool becomes more than a way to spread paint: it gives you a vocabulary of thick, thin, smooth and interrupted marks.