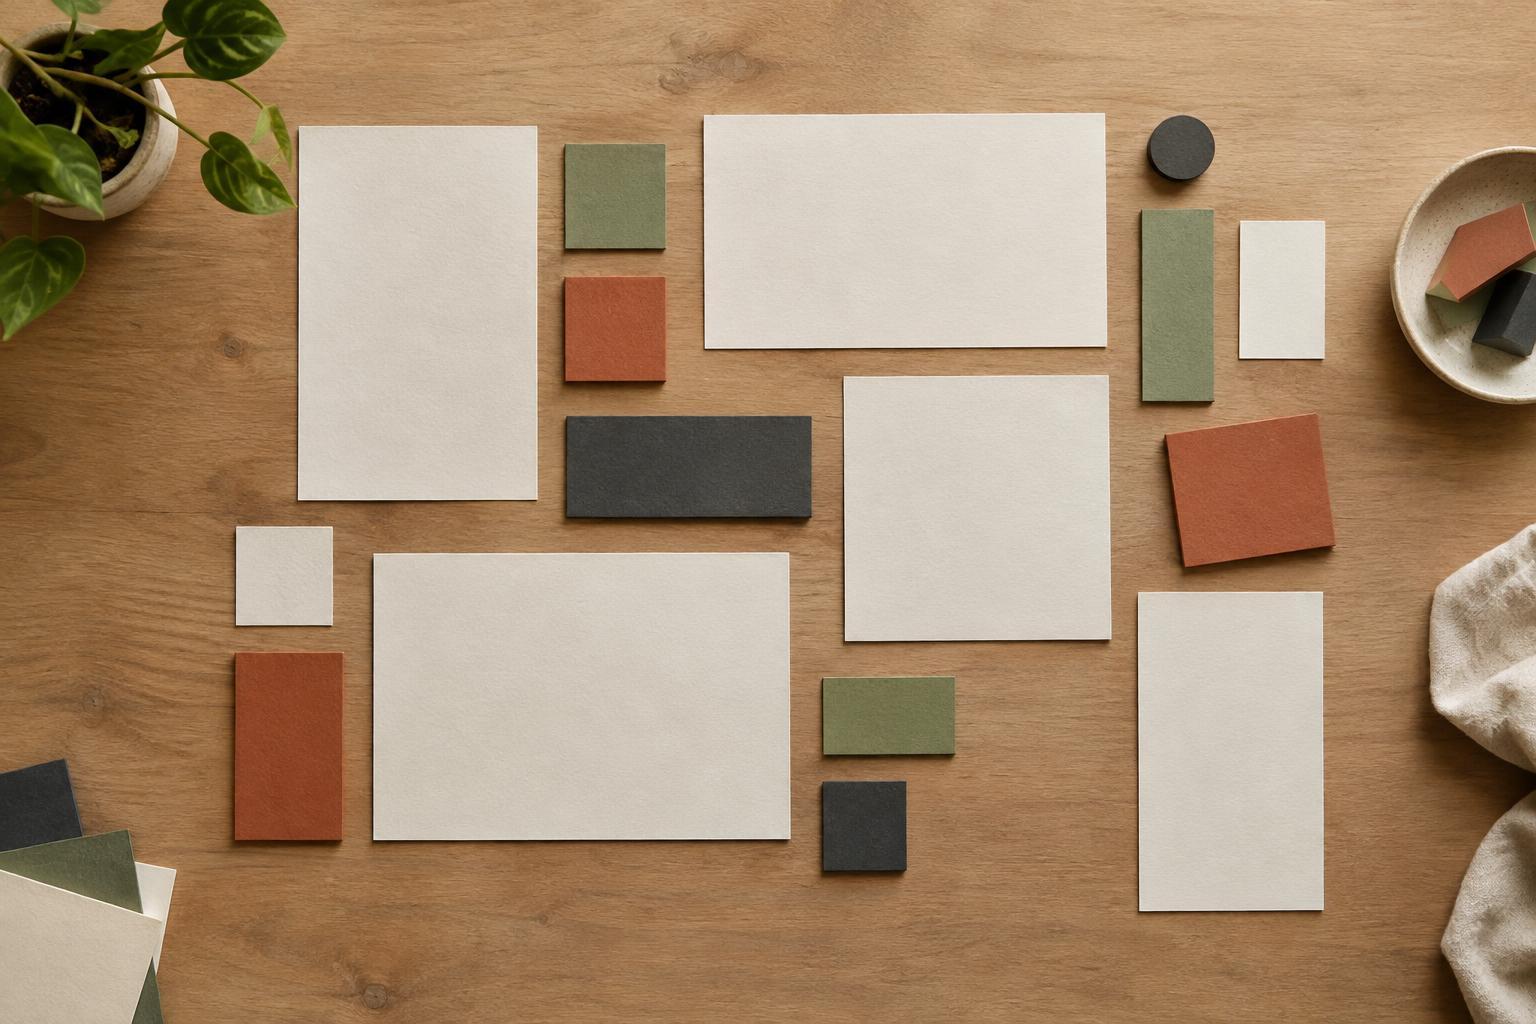
Start with a small set of materials
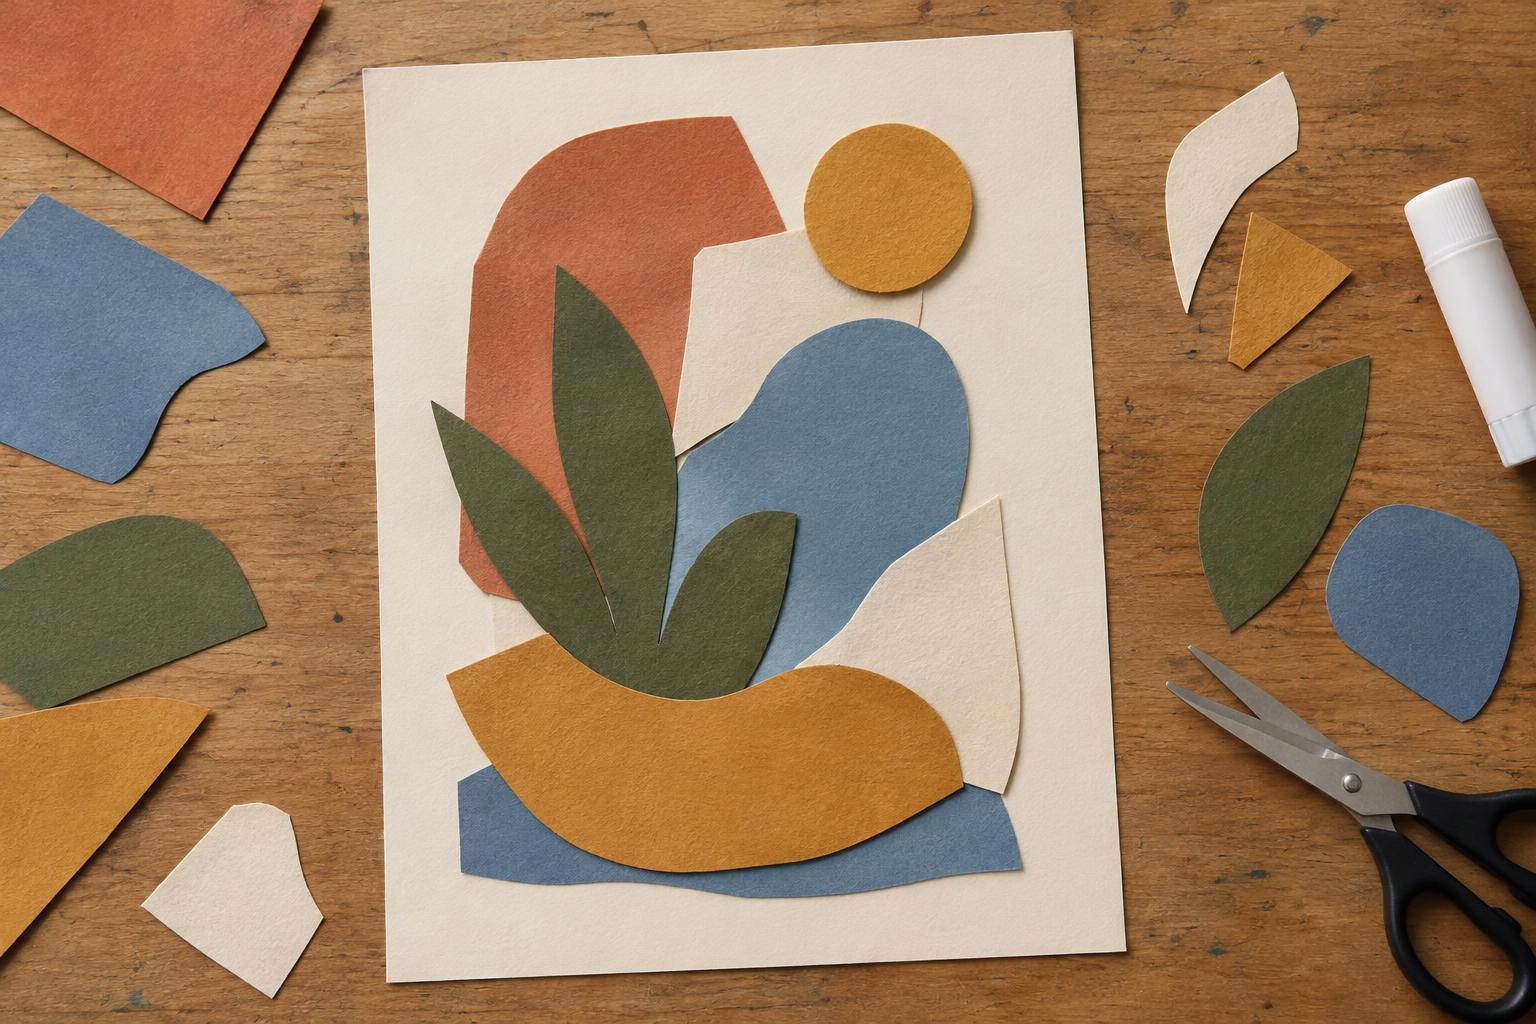
A layered paper collage is made by placing cut pieces of paper over one another to create an image or arrangement. You do not need to draw a detailed plan first. A sheet of sturdy paper for the background, a few papers to cut, scissors, and a glue stick are enough to begin. A pencil is useful for marking shapes on the back of a sheet. If you want straight edges, add a ruler; if you prefer irregular ones, scissors alone will do.
Choose a limited range of papers for your first collage. Two or three colors, plus one neutral, give you enough contrast without making every choice difficult. You can also mix smooth paper with a page from an old magazine or a piece of wrapping paper. Check that the background is firm enough for the layers you intend to add: thin paper may buckle when covered with glue or several overlapping pieces. Before cutting, decide whether your collage will suggest a familiar subject, such as a plant or a window, or explore shapes without depicting anything specific.
Cut shapes that give you room to experiment
Begin with larger shapes rather than small details. Cut a broad rectangle, an arch, a circle, or an uneven shape that takes up a noticeable part of the background. These pieces can establish the main structure of the collage. Then cut a few medium shapes that might cross or sit inside them. Save tiny pieces for later; they are easier to judge once the larger areas are in place.
Try varying the character of the edges. A long, clean cut can make a shape feel orderly, while a gently uneven curve may feel more informal. Neither is better; the difference gives you options. Rotate a cut piece before deciding where it belongs. A shape that seems uninteresting in one direction may become a strong part of the composition when turned sideways or partly hidden. Keep offcuts nearby, too. A narrow strip left over from one cut may make an effective border, stem, or line.
Arrange the layers before gluing
Place your largest pieces on the background without attaching them. Think of the bottom layer as a foundation: it can cover a broad area, divide the page, or set a direction for the eye to follow. Add medium pieces over it, allowing some edges to disappear beneath others. This overlap is what makes the arrangement feel layered. You do not need to stack every piece in the center; an isolated shape can provide a useful pause.
As you move pieces around, look at both the paper shapes and the uncovered background. The open spaces between pieces are part of the composition. If one area feels crowded, remove a shape or shift it so more background shows. If your eye moves quickly off the page, try bringing a shape inward or repeating a color elsewhere. You can take a quick photo of an arrangement you like before testing another. That makes it easier to compare versions without having to remember exactly where each piece sat.
Attach pieces from the back forward
Once you have an arrangement you want to keep, work out which pieces sit underneath the others. Lift off the top pieces and set them aside in order, then glue the lowest layer first. Apply an even coat of glue, paying attention to the edges, and place the piece gently on the background. Smooth it from the center outward with clean fingers or a scrap of paper. Continue with the next layer, checking its position before pressing it down.
Use only as much glue as the paper needs. Too much can leave a thin sheet wrinkled or make glue squeeze out at the edges. A glue stick gives you time to make small adjustments, but it is still worth placing each piece carefully. If you want an edge to lift slightly for a subtle shadow, leave that edge unglued, provided the collage will be handled gently. For a flatter finish, cover the completed work with a clean sheet of paper and place a book on top while the glue dries.
Finish by looking for balance, not perfection
Step back from the collage once the main layers are attached. Notice where your attention goes first and whether there is another area that invites a second look. A small contrasting shape might help connect two parts of the page, but it may also add clutter. Before gluing any final detail, place it on the collage and look again from a short distance. It is fine to stop while some of the background remains visible.
Layered collage rewards simple changes: moving one shape, covering part of another, or leaving a gap can alter the whole piece. If a cut is not quite what you intended, consider whether another layer can give it a new role rather than discarding it. The aim is not to hide every decision. Let the visible overlaps, edges, and spaces show how the composition was built.