What a rubbing can reveal
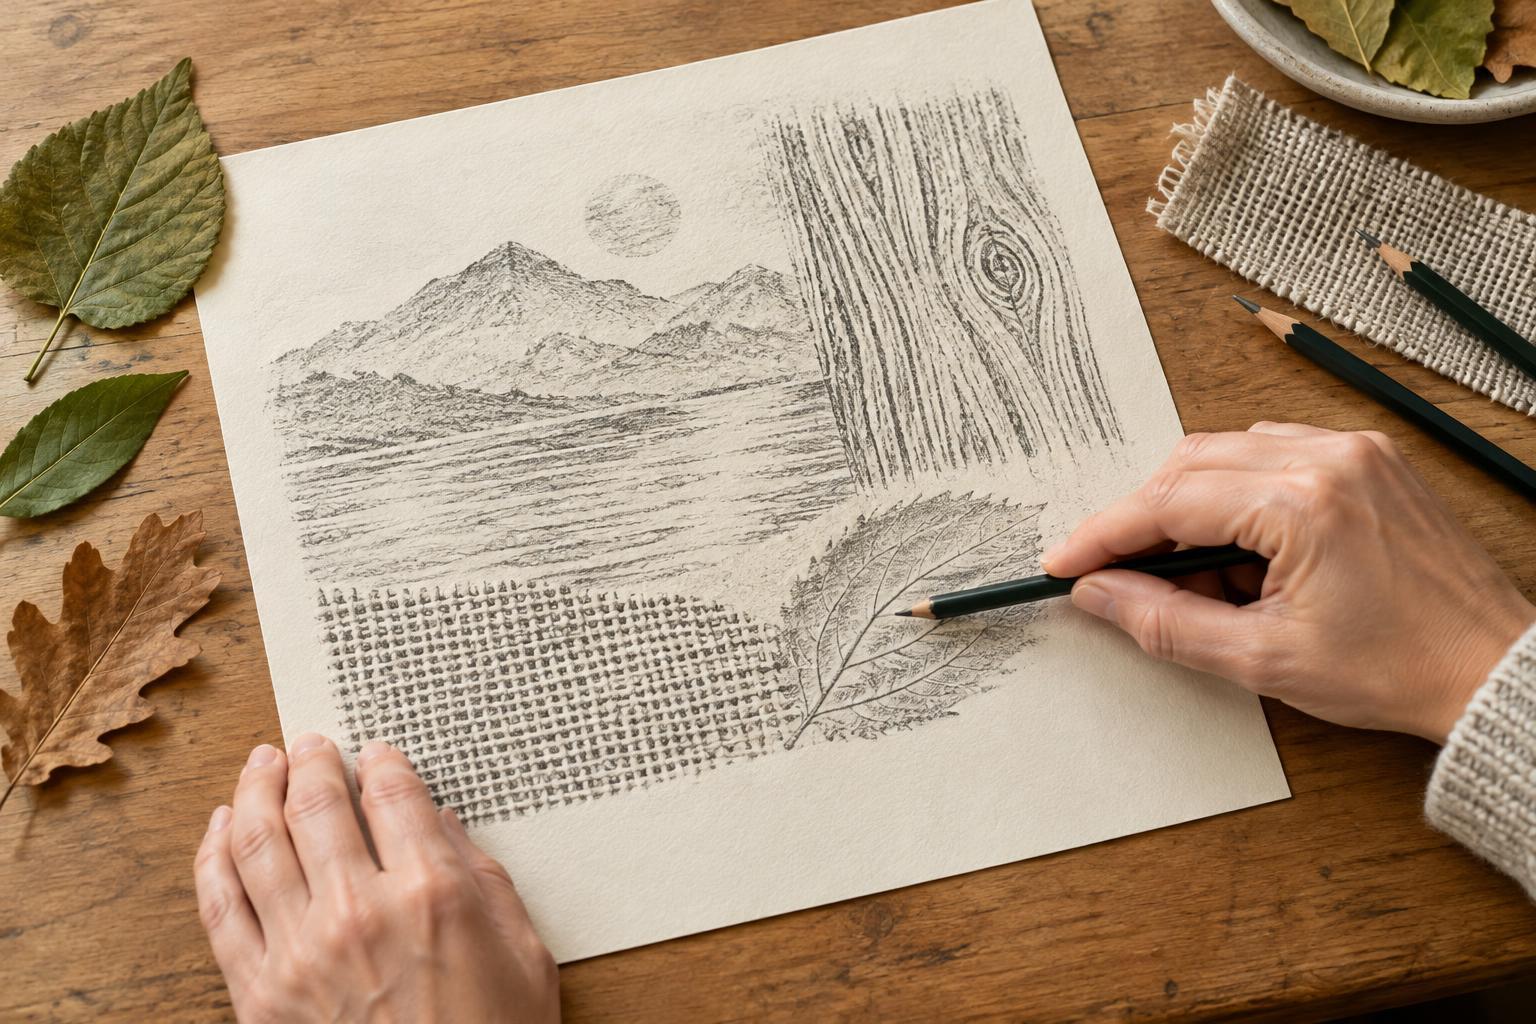
Frottage is a way of making marks by laying paper over a textured surface and rubbing across it with a drawing tool. Raised parts catch the pressure and leave marks on the paper, while lower areas often remain pale. A wood grain, a coin or a woven placemat can each produce a pattern that is difficult to draw by hand.
The first rubbing may be interesting on its own, but the technique becomes especially playful when you treat those marks as building blocks for an image. A rough pattern might suggest a hillside; closely spaced lines could become rain, fur or the side of a building. You do not need to decide what every texture represents before you begin. Making a few samples gives you something to respond to.
Gather simple materials and choose surfaces
Start with ordinary paper, a soft pencil or crayon, and a few textured objects. Thin paper usually shows shallow textures more readily than heavy card. A soft pencil can produce delicate changes in tone, while a crayon used on its side tends to cover larger areas quickly. Keep a spare sheet underneath your work if the surface below might pick up stray marks.
Look for surfaces that are clean, dry and stable: textured packaging, a leaf, a piece of fabric, corrugated cardboard or a patterned coaster. Place loose objects on a firm table so they cannot shift as you work. Avoid rubbing fragile artworks, delicate finishes or surfaces you do not have permission to use. If an object has sharp edges, choose a safer texture rather than pressing paper over it.
Try several materials on the same surface before choosing a favorite. The goal is not to identify the most impressive object; it is to find marks that give you useful contrasts. A bold grid and a faint organic pattern, for example, offer more variety together than two nearly identical grids.
Make clear rubbings without losing control
Lay your paper over the texture and hold it still with one hand. With the other, rub lightly across a small area, using the side of your pencil lead or crayon rather than its point. Build up pressure gradually. Heavy pressure at the start can flatten subtle differences or leave a dark patch that hides the pattern. If the image looks uneven, check whether the paper or object has moved before adding more marks.
Change direction to see how the texture responds. Long strokes may emphasize the grain of wood, while short strokes can bring out individual bumps. You can also stop partway through a rubbing to create a soft edge. For a sharper shape, cut a simple window in scrap paper and hold it over your drawing sheet as a mask while you rub. Test this first: the mask needs to stay in place without catching your pencil.
Make a small sample sheet and note which combinations work for you. A texture that barely appears with pencil might look strong with crayon. These trials are useful material for your final image, not failed attempts.
Turn a collection of patterns into a picture
Before filling a fresh sheet, choose a simple idea such as a garden, a city street or an imagined landscape. Lightly sketch two or three large shapes to guide placement. Keep some unmarked paper between busy areas so the eye has room to rest. You can then assign textures by their visual character: a tight weave for a wall, broad ridges for ground, or scattered leaf veins for foliage.
Vary the strength and scale of your rubbings to make the image easier to read. A dark foreground shape can stand apart from a pale background; one large textured area can balance several smaller ones. To create a focal point, give your main subject either the strongest contrast or the most distinct pattern. Resist the urge to cover every space. An empty sky or a quiet margin may do more for the composition than another texture.
You can work directly on one sheet or make separate rubbings and cut them into shapes. The second approach lets you rearrange pieces before attaching them, which is helpful if you are unsure about the layout. Small drawn lines can connect the parts, but let the rubbed textures remain the main attraction.
Review, adjust and keep experimenting
Step back from your image and ask what you notice first. If all the areas compete for attention, soften one with a clean eraser where possible, or leave your next area lighter. If a texture disappears, place it beside a quieter shape rather than pressing harder until the paper is damaged. A partial rubbing can be as useful as a perfect imprint.
Keep your sample sheet for later projects. Once you know how a few familiar surfaces behave, you can reuse them in different ways: the same corrugated pattern might read as a path in one image and a roof in another. Frottage rewards this kind of reinterpretation. Its appeal lies not only in finding textures, but in deciding what those unexpected marks could become.