Why the empty shapes matter
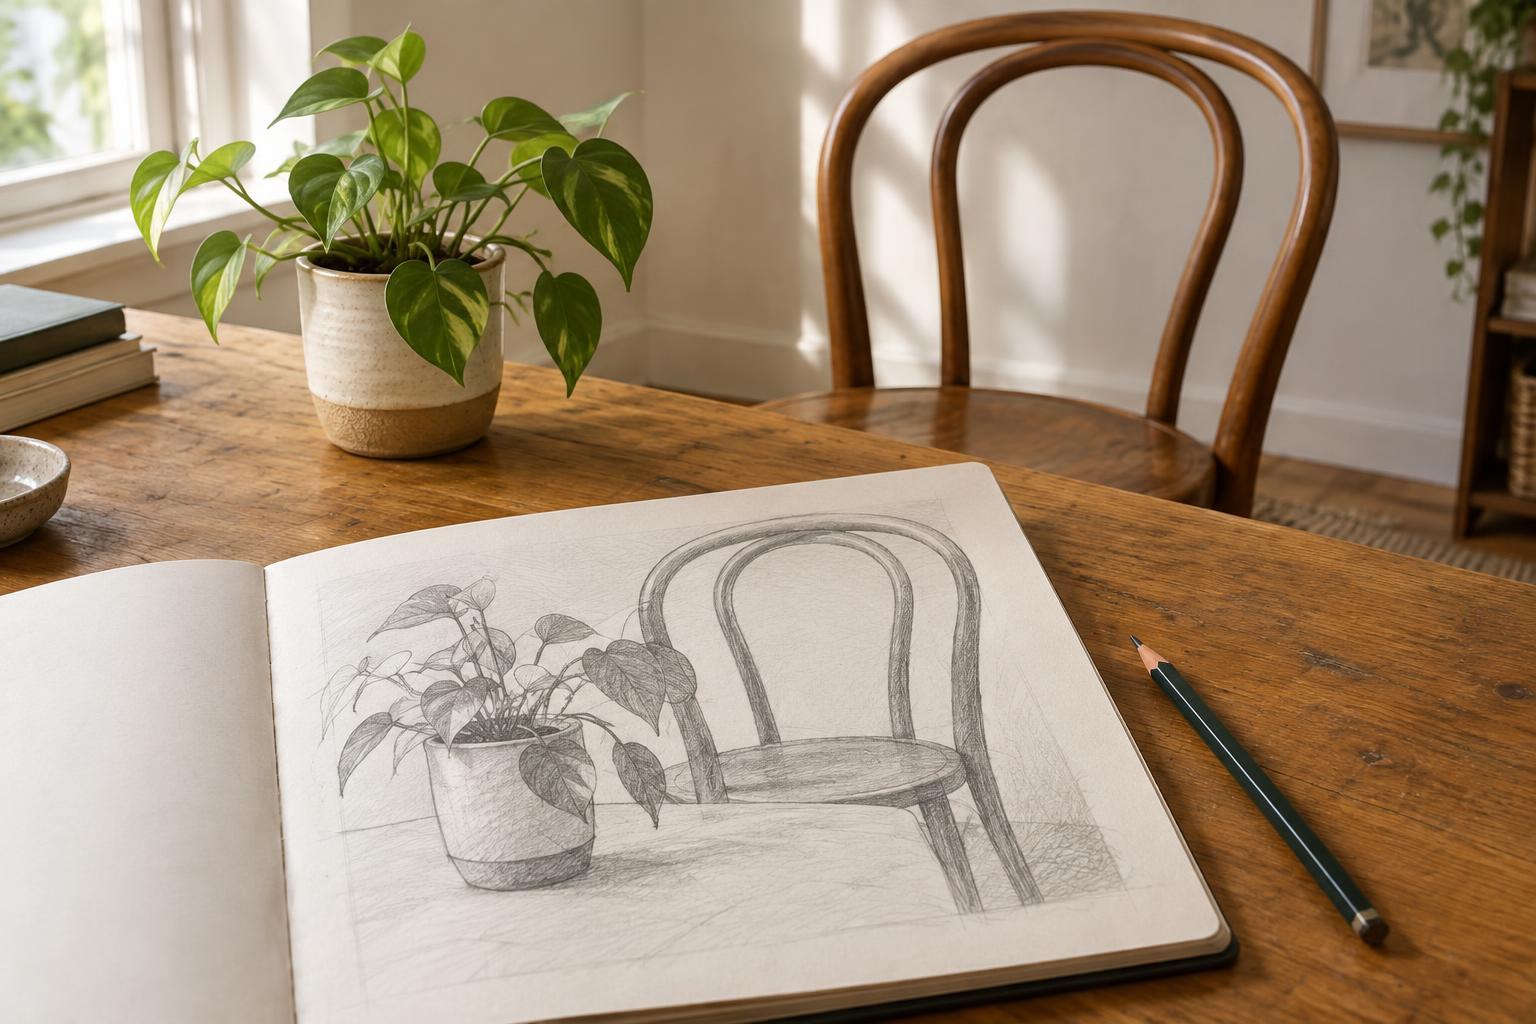
When drawing a chair, it is easy to focus on what you know about chairs: four legs, a seat and a back. That knowledge can be helpful, but it may also tempt you to straighten a slanted leg or draw the seat larger than it appears. The open shapes beneath and around the chair offer another way to look. They have no familiar name to distract you, so you can concentrate on the angles and distances you see.
These open areas are called negative space. The chair is the subject, or positive shape; the gaps between its legs and the space around its outline are negative shapes. Drawing either kind of shape means observing the same boundaries. If the triangular opening under the seat looks right, the legs that frame it are more likely to be in the right places too.
Set up a simple subject
Start with an object that creates clear openings, such as a chair, a plant with a few distinct stems or a mug with a handle. You can also place two or three objects on a table and study the spaces between them. Sit where you can comfortably keep your head in roughly the same position. A shift in viewpoint changes the shapes you are trying to draw.
Use a pencil and a sheet of paper large enough to make the gaps visible. Before adding detail, decide where the whole arrangement will sit on the page. Lightly mark its top, bottom and sides. These marks give you a frame for comparing the shapes inside it. They need not be exact on the first attempt; they are guides you can adjust as you look.
Draw a gap before drawing the object
Choose one negative shape that is easy to recognize. With a chair, you might begin with the opening between two legs and the underside of the seat. Follow its edge slowly with your eyes. Ask where it widens, where it narrows and whether its sides tilt or curve. Sketch that shape lightly, using short marks if a continuous line feels difficult. Avoid naming the parts of the chair for a moment; attend to the boundary of the opening.
Next, draw a neighboring gap and compare the two. Is one taller? Does a narrow strip of chair separate them, or a wide one? As you add more spaces, the object will begin to appear between their edges. You can then connect and refine its visible outline. This is not a trick for avoiding the subject: it is a way to observe it without relying entirely on memory.
Use the spaces to check your drawing
Pause after a few minutes and compare your sketch with the subject. Look for relationships rather than judging whether the whole drawing looks good. If a gap in your sketch is too wide, examine both edges before moving either one. Perhaps the chair leg is misplaced, or perhaps the seat extends too far. Checking the negative shape helps you identify what needs to change.
Angles are especially useful. Notice whether an opening has a level top, a sloping side or a point that sits left or right of its center. You can hold your pencil at arm’s length to compare a prominent angle, keeping your arm steady as you look. Also compare the spaces at the outside edges of your arrangement. The area between an object and the edge of your page can reveal when the whole subject has drifted to one side.
Practice without chasing a perfect outline
For a short exercise, arrange three everyday objects with visible gaps between them. Spend the first few minutes drawing only those gaps, as if they were separate pieces you could cut out of paper. Then add the objects that surround them. Try the exercise again from a different seat and notice how the openings change. The aim is not to make two matching drawings, but to become more attentive to what a particular viewpoint shows.
Some spaces will be awkward or partially hidden. You do not have to describe every one. Choose a few distinctive shapes, compare their proportions and let them guide the rest of the drawing. Light lines make revisions easier, and repeated looking matters more than a tidy first pass. Over time, noticing the spaces between things can become part of how you see a subject, whether you are sketching furniture, plants or a busy tabletop.